
How To Make Custom Foam Packaging
Do you know how to make custom foam packaging? Making custom foam packaging is a great way to protect your products during shipping. Not only does foam provide superior protection, but it can also be customised to match your branding and marketing materials. In this blog post, we will discuss the steps you need to take to create custom foam packaging for your business. We'll also provide some tips on how to make sure your products arrive safe and sound. Let's get started!
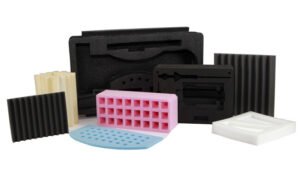
Foam packaging is available in a variety of materials with varying characteristics. Whether you choose polyurethane foam or ethylene-vinyl acetate foam for its delicate yet robust look, you can rest easy knowing that the material has been tested to provide long-lasting durability.
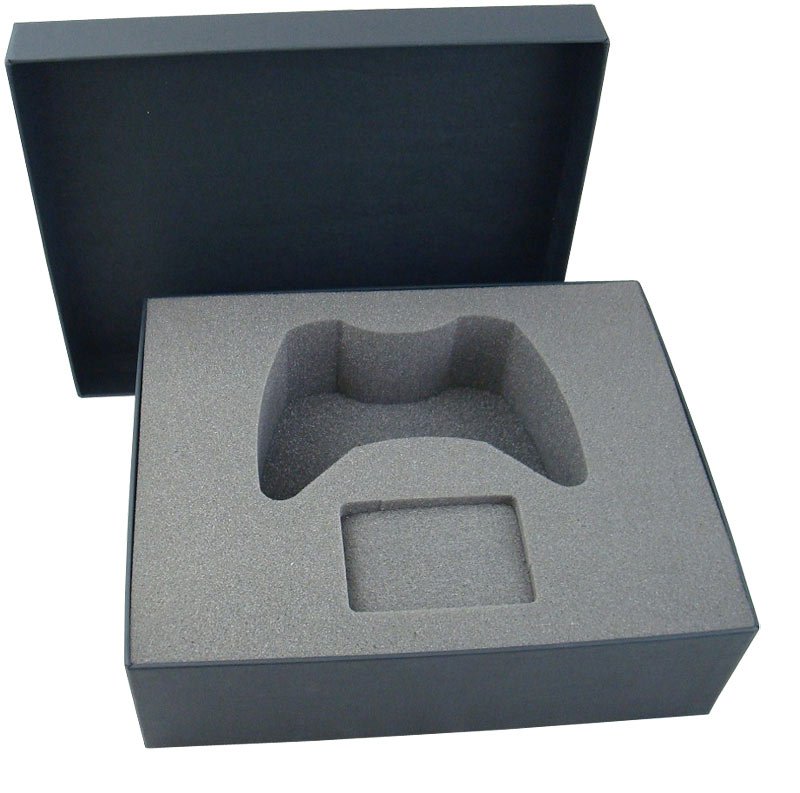
Custom foam inserts are ideal for storing and protecting your valuables (whether it's camera equipment or your trusty tools), as well as shipping goods to clients with bespoke foam packaging. There's no better way to do so than with custom foam inserts, whether you're looking to store and protect your valuable items or deliver things to them using custom foam packaging. While a professionally designed and milled insert is usually preferable, it isn't always required. You may always make one yourself if desired.
However, one can easily make a mistake. The idea of pick n pluck foam is faulty, and if you don't cut the material correctly, your new foam inserts may not be as effective as they should be.
6 Simple Steps on How to Make Custom Foam Packaging
Finding out what your size requirements are
Choosing the right foam inserts
Choosing a case
Making your foam ready
Choosing the proper tools
Trim your foam
STEP 1: Finding out what your size requirements are

How big should your product be? First, you must decide on case size. You should give some space of about half an inch between each piece of equipment and the foam's edge first. Take notice of the minimum area that will keep everything safely (but also take note of the fact that if your items are squished together, it'll be difficult to remove them).
Then, measure the tallest piece of equipment and add an inch (or perhaps a half-inch) for flexibility. From this, you can tell how tall the inside of your case needs to be.
STEP 2: Choosing the right foam inserts
To construct your own bespoke foam inserts, you'll need some high-quality foam that matches. Contact us to know what fits to your custom packaging project.
STEP 3: Choosing the best case
Choose a case that matches your outside and inside dimensions. In other words, select one that is suitable. There are a plethora of cases to choose from, ranging from tough camera enclosures to sturdy tool bags, based on your needs.
STEP 4: Make your foam ready
Make sure you have enough foam on hand. You'll need three pieces: two thin ones for the lid and base, plus a thicker wedge to separate them. This is when things start to get a little more difficult. Because you need to figure out the thickness of the top and bottom components, you subtract the internal height of the case from your largest equipment piece's height. Then divide by two and add half an inch to make sure that when the case is shut, the equipment fits snuggly.
STEP 4: Choosing the proper tools
If you have one, an electric carving knife is ideal. However, because they aren't as easily available as other kitchen items, you may use a hacksaw (the smaller the better). Wood saws are too bulky and may cause harm, while a kitchen knife is difficult to use (which might result in injury). As a result, go with a hacksaw.
STEP 5: Trim your foam
Secure the foam however you can with protective gloves (a workbench clamp works best). Of course, leave out the portion you wish to remove. Take the equipment/goods you want to include into the case and draw a circle around them. Cut a quarter of an inch inside the line to ensure that the equipment is secure but easy to remove. All you have left to do now is take the cut-out and place it in position before your foam gets sliced and ready for use. We recommend purchasing an extra sheet so that you can practice on it. Go give it a try!